Note: Sign in to Outlook on the web using your work or school account.
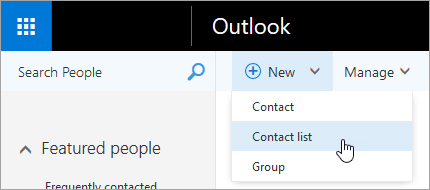
In Outlook on the web, you use the People page to create, view, and edit contacts, contact lists, and groups.
Choose your version for instructions
The instructions are slightly different depending on whether you’re using the new Outlook on the web. Choose which version of Outlook on the web you’re using to see the steps that apply to you.
IF YOUR MAILBOX LOOKS LIKE…

See Instructions for the new Outlook on the web.
IF YOUR MAILBOX LOOKS LIKE…

See Instructions for classic Outlook on the web.
Note: If your organization has included its logo in the toolbar, you might see something slightly different than shown above.
 at the bottom of the page
 > Add to contacts.
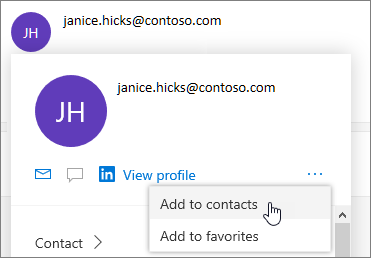


 > Outlook.
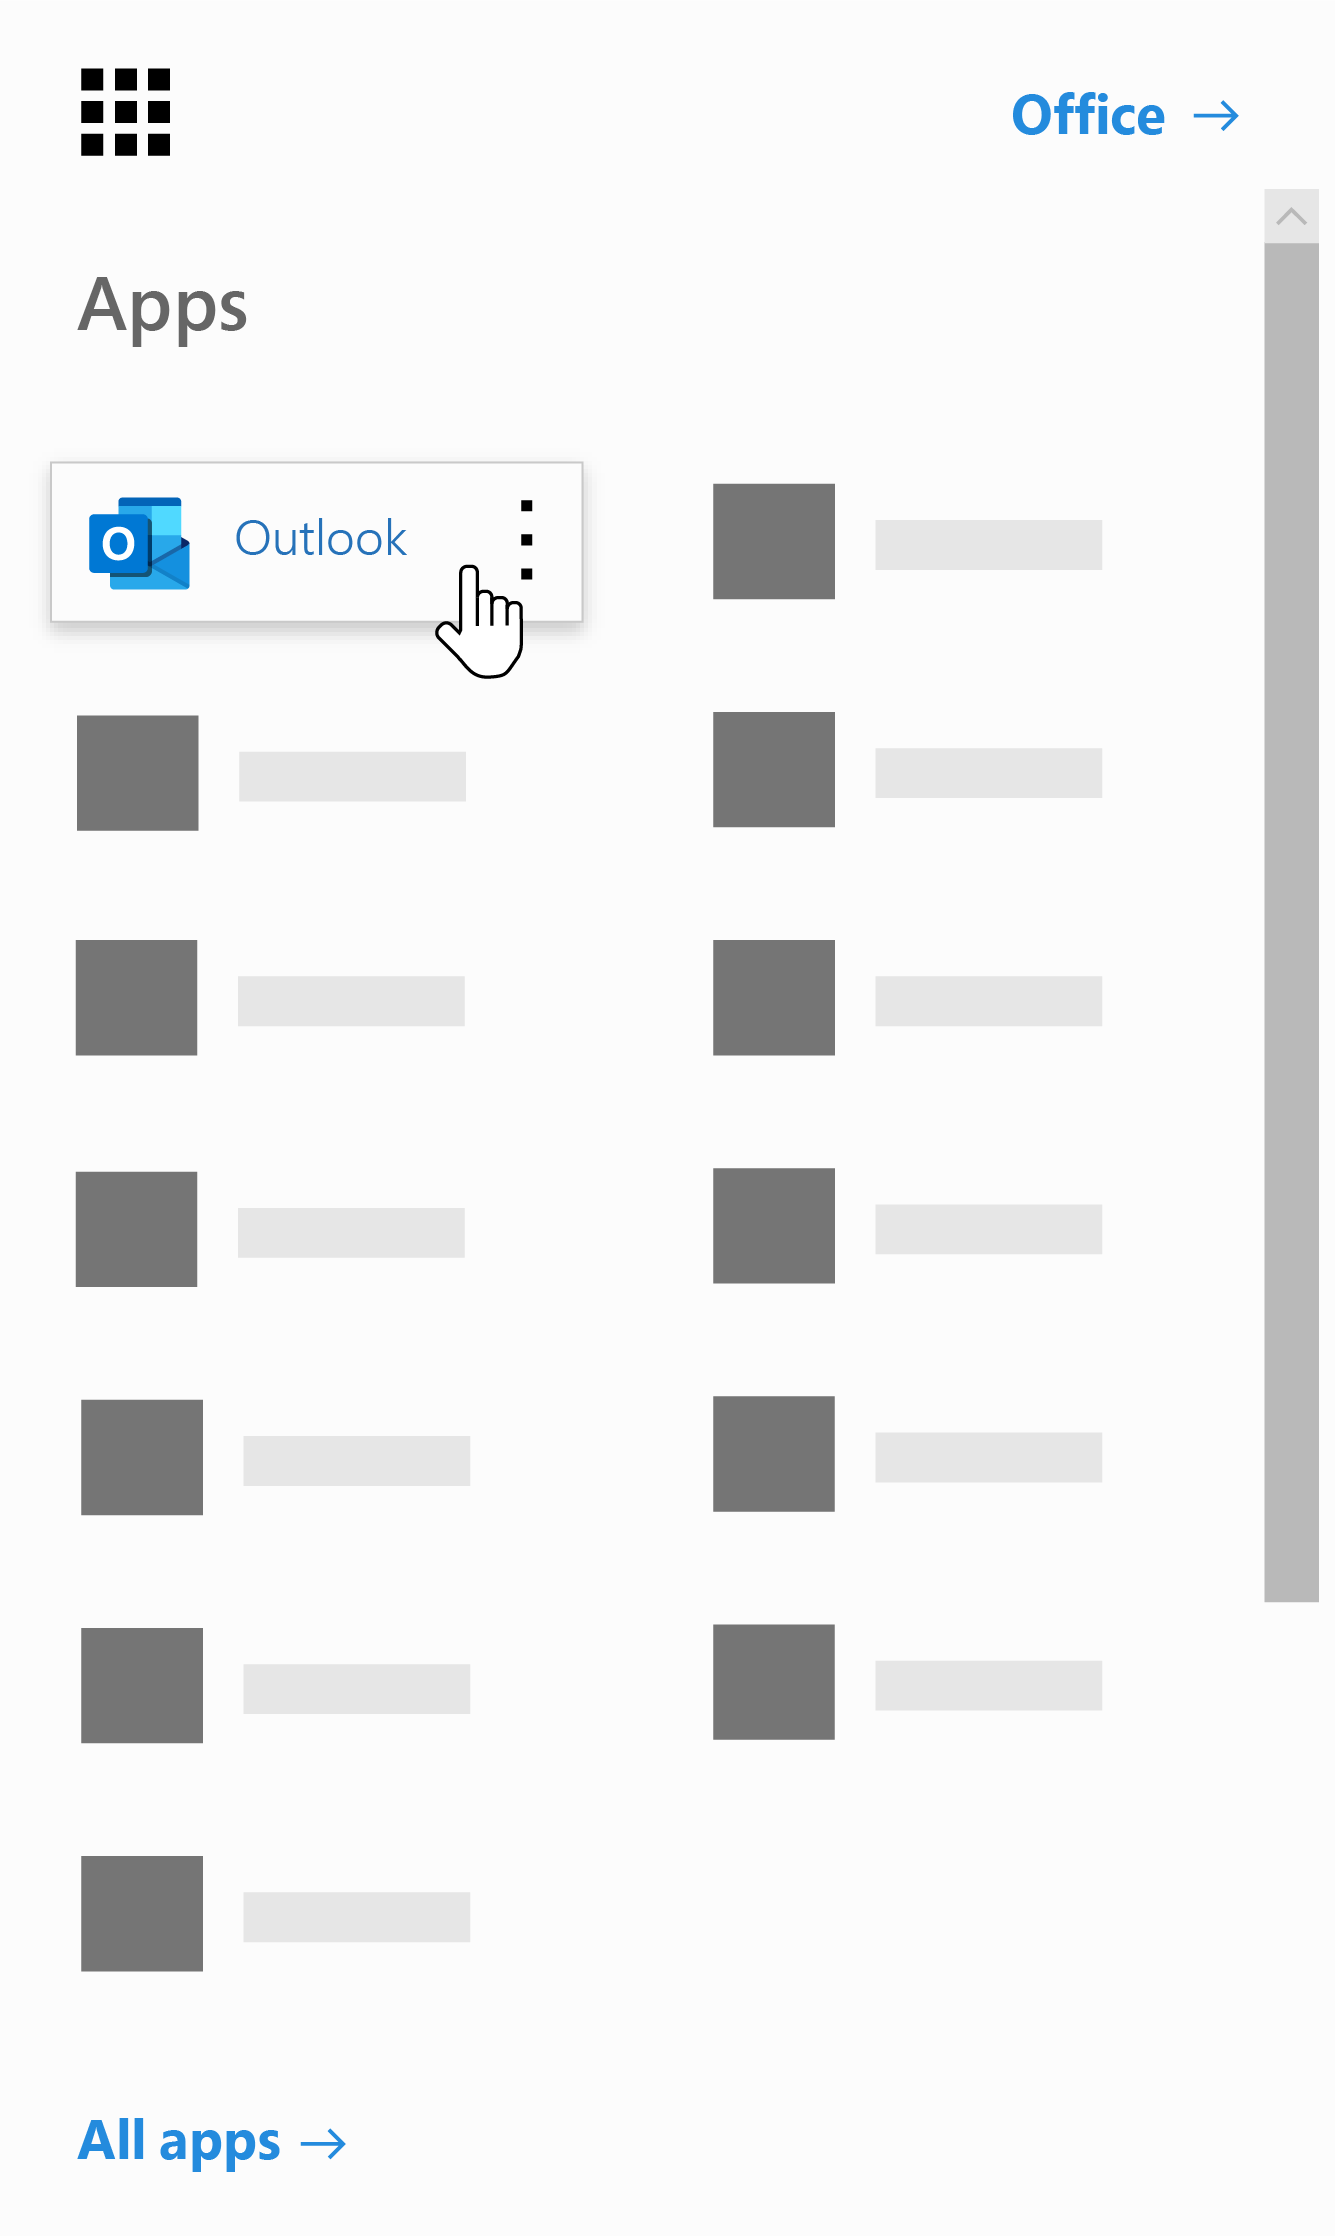 Can’t find the app you’re looking for? From the app launcher, select All apps to see an alphabetical list of the Office 365 apps available to you. From there, you can search for a specific app.

 icon to see options for that type of information. For example, select
  Save when you’re done.
 > Mail.
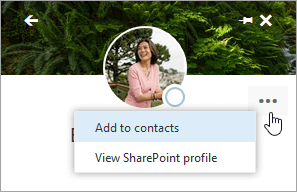
 or press Enter.
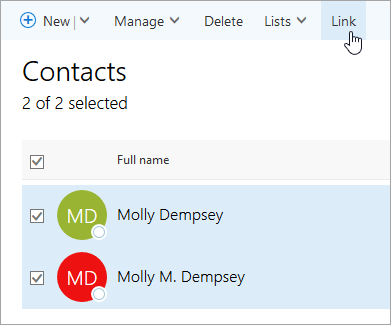
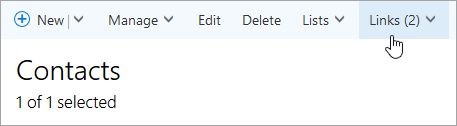
 next to the contact that you want to unlink from the others.