Premier Customer Support

You can contact us for support 24x7. Please fill out your support request below.

    Please prove you are human by selecting the tree.

    Quick Start- OneDrive (personal)

    Dimension4 / Quick Start- OneDrive (personal)
     

    Upload and save files and folders to OneDrive

    Upload files or folders to OneDrive

    With Microsoft Edge or Google Chrome:

    1. Select Upload > Files or Upload > Folder.
    2. Select the files or folder you want to upload.
    3. Select Open or Select Folder.

    With other browsers:

    • Select Upload, select the files you want to upload, and select Open.
    • If you don’t see Upload > Folder, create a folder, and then upload the files to that folder.
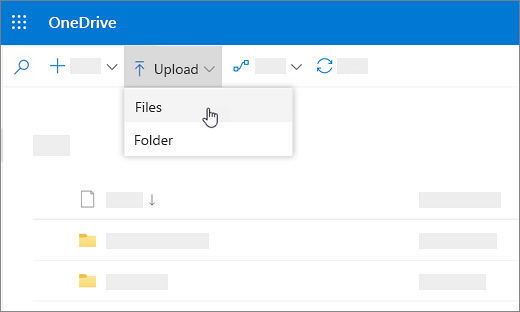
    Screenshot showing Upload selected

    Note: If you have the OneDrive sync client installed, you can also upload with File Explorer. Select the files you want to upload, and drag them to OneDrive in the File Explorer Navigation pane.

    Save a file to OneDrive

    1. Select File > Save As > OneDrive – Personal.
    2. Select Enter file name here and type a name.
    3. If you want to save to another folder, select Browse, and select the folder you want.
    4. Select Save.

    The next time you open the Office app, you’ll see your saved file in the Recent list.

    Note: Requires Office 365, 2019, or 2016.
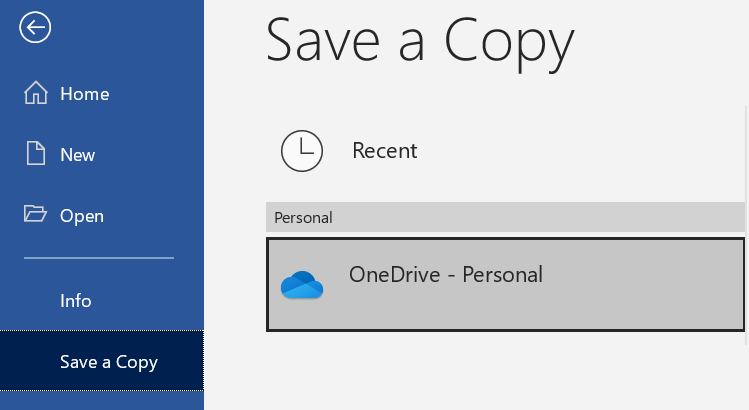
    Screenshot of the locations list on the Save As page of a Word document.

    If you don’t see OneDrive – Personal in the list:

    1. Select Add a Place
    2. Select OneDrive and sign into your Microsoft account.
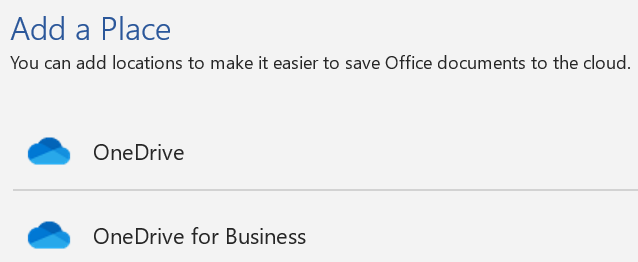
    Screenshot of the Add a Place button and Add a Place list on the Save As page of Word.
    Need more help?

    Select what to do with a file

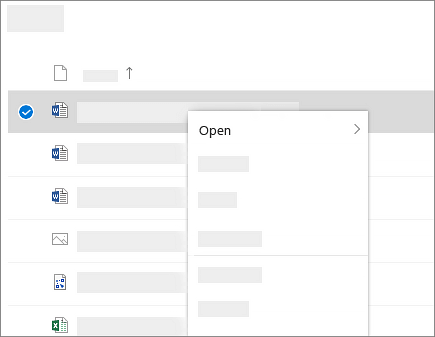
    1. In OneDrive, right click the file.
    2. Select a command.
    Screenshot showing the shortcut menu for a selected file

    Create a folder

    1. Select New > Folder.
    2. Type a name for the folder.
    3. Select Create.
    OneDrive Create Folder

    Set up the OneDrive sync client in Windows

    1. If you don’t have Windows 10, Office 365, or Office 2016, install the new OneDrive sync client for Windows. If you use the latest software, you already have the OneDrive sync client and you can skip to step 2.
    2. Select the Start button, search for OneDrive, and then open it.
    3. When OneDrive Setup starts, enter your Microsoft account, and then select Sign in.

    Screenshot of the first screen of OneDrive Setup

    Note: If you already had an account signed in to OneDrive and you want to add another account, select the OneDrive cloud icon in the Windows taskbar notification area, select More > Settings. In Settings, select Account, select Add an account, and then sign in.

    For more info, see Sync files with the OneDrive sync client in Windows.

    Set up the OneDrive sync client on Mac

    1. Install OneDrive for Mac.

      Important: If you’re using the OneDrive Mac Store app, uninstall it before installing the latest build of the OneDrive desktop app.

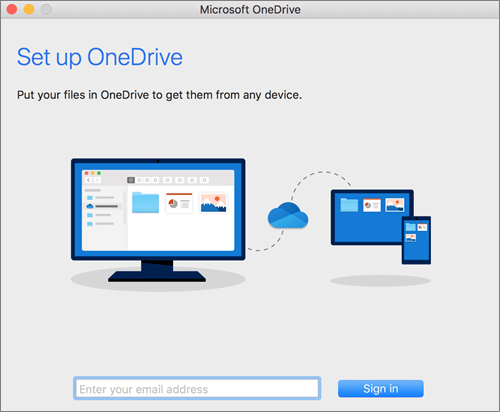
    2. Start OneDrive by pressing cmd + Space to launch a Spotlight query and type OneDrive. This starts OneDrive Setup.

    3. Enter your Microsoft account and then select Sign in.

    Screenshot of the first page of OneDrive Setup

    Note: If you already had an account signed in to OneDrive and you want to add another account, click the OneDrive cloud icon up in the Menu bar, click the three dots to open the menu, and select Preferences. Click the Account tab, select Add an Account to start OneDrive Setup, and then sign in.

    Collaborate in OneDrive

    Share files or folders

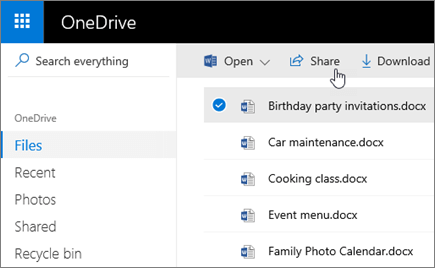
    1. Select the files or folder you’d like to share.
    2. Select Share Share .
    3. Select Anyone with this link can edit this itemand set the permissions:
      • Select Allow editing if you want others to be able to edit the file.
      • Uncheck Allow editing if you only want others to be able to view the file.
    4. Select how you’d like to share:
      • Get a link – Select Copy and paste the link into a message, file, webpage, or other location.
      • Email – enter the emails of the people you want to share with, add a message (optional), and select Share.
      • Social network – Select More and select the social network you want.

    Screenshot of a selected file and the Share button in OneDrive.

    OneDrive Share All Options

    Stop or change sharing

    If you are the file owner, or have edit permissions, you can stop or change the sharing permissions.

    1. Select the file or folder you want to stop sharing.

    2. Select Information Information in the upper-right corner to open the Details pane.
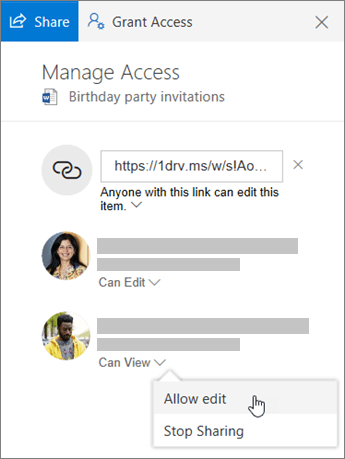
    3. Select Manage access and:
      • Select the X next to a link to disable it.
      • Select Can Edit or Can View, and then select Stop Sharing.
      • Select Can Edit or Can View and then select Change to….
    Screenshot of the Sharing section of the Details pane for a shared file.

    Stay connected with OneDrive

    Share a file from your mobile device

    1. Open the OneDrive app on your mobile device.
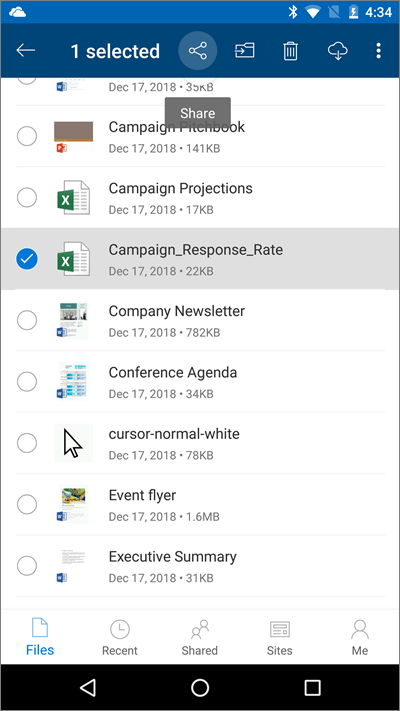
    2. Select a file or folder – press and hold until the checkmark appears next to it.
    3. Tap the OneDrive app Share icon Share icon.

    From an Office app:

    1. Open an Office app like Word, Excel, or PowerPoint on your device.
    2. Tap Open, then tap OneDrive – Personal.
    3. Tap the More icon (three dots) next to the file, then select Share.
    Screenshot of OneDrive mobile app with a file selected and upload icon highlighted

    Open your files on your mobile device

    1. Tap a file to preview it.
    2. Tap the Office app icon at the top to open the file.
    Open a file on your mobile device