Choose your version for instructions
The instructions are slightly different depending on whether you’re using the new Outlook on the web. Choose which version of Outlook on the web you’re using to see the steps that apply to you.
IF YOUR MAILBOX LOOKS LIKE…

See Instructions for the new Outlook on the web.
IF YOUR MAILBOX LOOKS LIKE…

See Instructions for classic Outlook on the web.
Note: If your organization has included its logo in the toolbar, you might see something slightly different than shown above.
 at the bottom of the page.
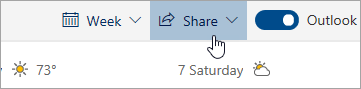
 Remove.
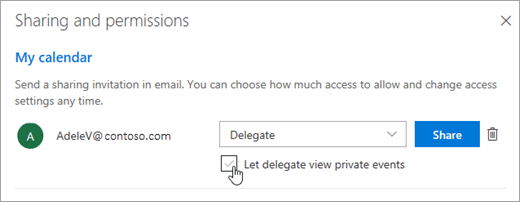
 , and select Calendar.
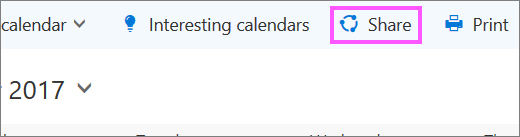

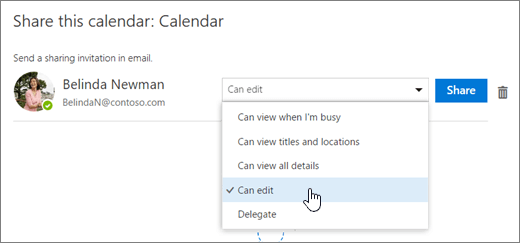
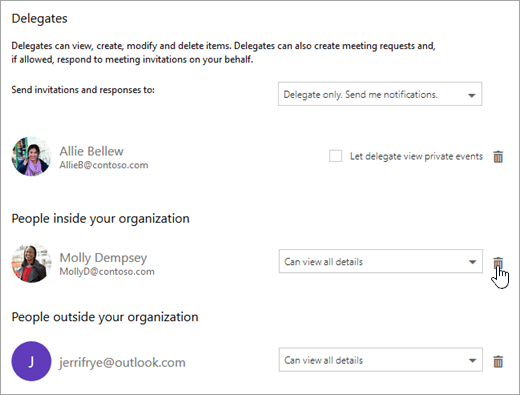 The person is now removed from the list of people with access to your calendar. If the person is inside your organization, your calendar will be removed from his or her list of calendars. If the person is outside your organization, his or her copy of your calendar is not removed but will no longer sync to your calendar or receive updates.